NodeJS Cody Tutorial
prooph board can connect to a coding bot called Cody. With its help you can generate working code from an event model. This tutorial guides you through the first steps. You’ll learn the basics as well as customizing code generation to suit your needs.
Preparation
We’ve prepared a repository containing some exercises.
- Clone Repo and execute setup
git clone git@github.com:proophboard/ts-cody-tutorial.git
cd ts-cody-tutorial
Install dependencies
npm install
Initialize Cody
npm run bootstrap
Start Cody Server
npm run cody
- Create cody tutorial board on prooph board and test connection
You can use prooph board free version for the tutorial (no login required).
prooph board is a modeling tool specifically designed for remote Event Storming. It ships with realtime collaboration features for teams (only available in paid version). The free version is a standalone variant without any backend connection. Your work is stored in local storage and can be exported. It is hosted on Github Pages and has the same code generation capabilities as the SaaS version.
Create a new board called “Cody Tutorial”. You’ll be redirected to the fresh board. Choose “Cody” from top menu to open the Cody Console. Just hit ENTER in the console to connect to the default Cody server that we’ve setup and started in the previous step.
Finally type “/help” in the console to let Cody explain the basic functionality.
Cody Explained
Cody is an express http server running on your local machine. prooph board can connect to it using /connect [server address] in the Cody Console.
codyconfig.ts is the central place to configure code generation. Generated code needs to be written to a target repository (e.g. src/).
The tutorial contains a Jest test case for each exercise to validate that generated code looks like the expected one.
Exercise I
The Cody Server should be running and listen on http://localhost:3311:
![]() Note: nodemon restarts the server on changes. If something does not work as expected try to restart the server manually and take a look at the logs in the console.`
Note: nodemon restarts the server on changes. If something does not work as expected try to restart the server manually and take a look at the logs in the console.`
Test-Driven Exercises
Navigate to the tutorial project in a second console cd ts-cody-tutorial and run the first exercise using:
npm run exercise1
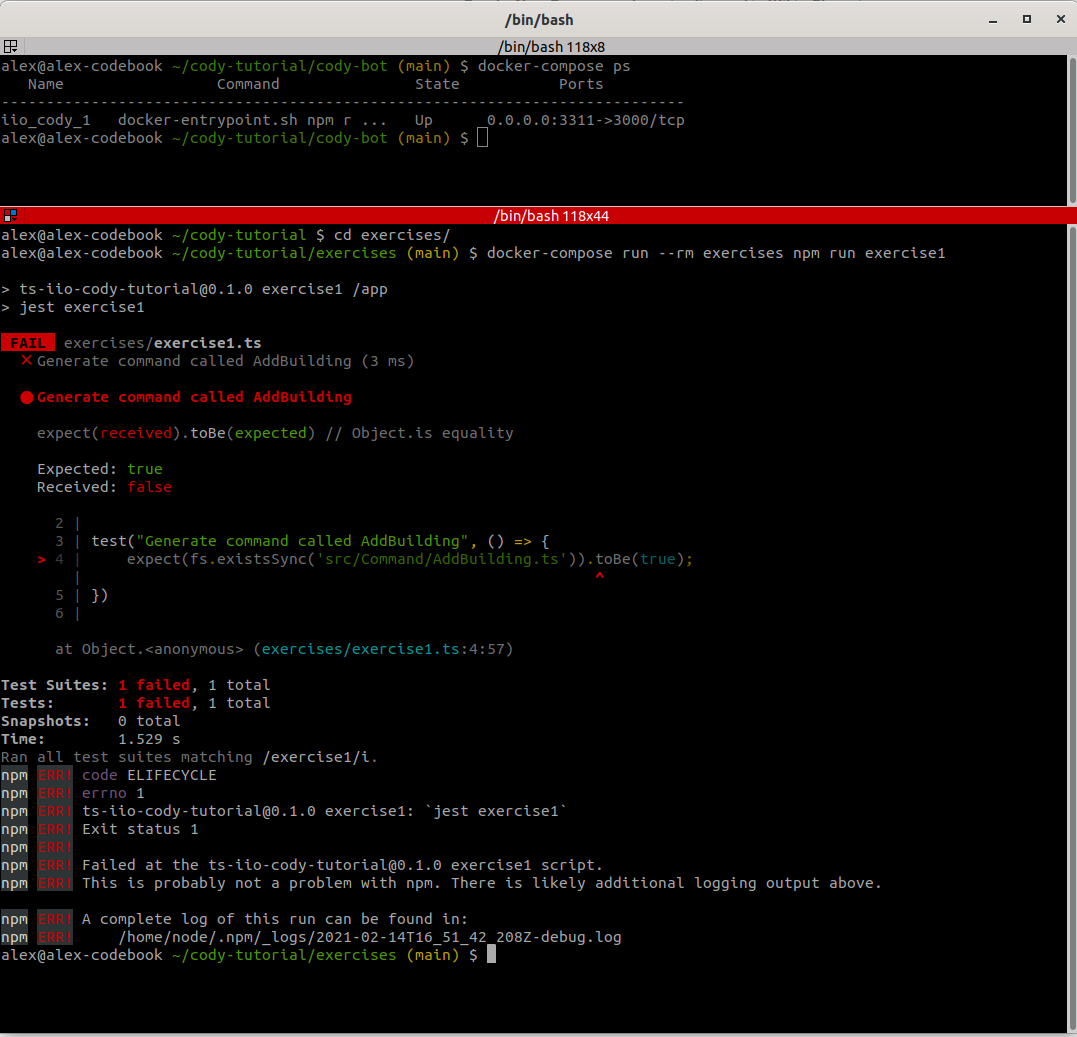
Of course the test case is failing. it is looking for a Command called AddBuilding and that’s the first file we want to generate from a prooph board event map. You might have noticed the commented hooks in codyconfig.ts. What we need is a onCommandHook, so let’s create one!
Create Command Hook
# current dir: ts-cody-tutorial

# Create interface for Context object
echo -e "export interface Context {\n  srcFolder: string;\n}\n" >> .codyhooks/Context.ts

# Create onCommandHook.ts
touch .codyhooks/onCommandHook.ts
Open .codyhooks/onCommandHook.ts in your favorite editor and copy this content into it:
import {Context} from "./Context";
import {CodyHook, CodyResponse, Node} from "@proophboard/cody-types";
import {isCodyError, nodeNameToPascalCase, writeFileSync} from "@proophboard/cody-utils";

/**
 * onCommandHook
 *
 * @param {Node}    command  Information about command card received from prooph board
 * @param {Context} ctx      Context object populated in codyconfig.ts
 * @returns Promise<CodyResponse>
 */
export const onCommandHook: CodyHook<Context> = async (command: Node, ctx: Context): Promise<CodyResponse> => {
    // Cody ships with some util functions for common tasks
    const cmdName = nodeNameToPascalCase(command);
    const cmdFilename = cmdName+'.ts';
    // ctx.srcFolder is set in codyconfig.ts
    const cmdFile = ctx.srcFolder + `/Command/${cmdFilename}`;
    let successDetails = 'Checklist\n\n';

    const content = `
export interface ${cmdName} {}
`;

    // Util functions return Cody-Error-Responses in case something went wrong
    const writeFileErr = writeFileSync(cmdFile, content);

    if(isCodyError(writeFileErr)) {
        return writeFileErr;
    }

    successDetails = successDetails + `✔️ Command file ${cmdFile} written\n`;

    // Cody responses can be formatted similar to browser console formatting
    // @see https://developers.google.com/web/tools/chrome-devtools/console/console-write#styling_console_output_with_css
    return {
        cody: `Wasn't easy, but command ${cmdName} should work now!`,
        details: ['%c'+successDetails, 'color: #73dd8e;font-weight: bold'],
    }
}
Register Hook in codyconfig
To activate the hook, we need to register it in codyconfig.ts. You can find the file in the project root.
We also set a srcFolder property in the context part of the configuration.
The context object is passed as a second argument to each hook. You can use it to pass your own configuration options
into the hooks.
import {Map} from "immutable";
import {onCommandHook} from "./.codyhooks/onCommandHook";

module.exports = {
    context: {
        /*
         * The context object is passed to each hook as second argument
         * use it to pass configuration to your hooks like a src directory, credentials, ...
         */
        srcFolder: 'src',

        // This Cody server implements the optional Sync flow and stores all synced nodes in this context property
        syncedNodes: Map({})
    },
    hooks: {
        /**
         * Uncomment and implement a hook to activate it
         */
        // onAggregate: onAggregateHook,
        // onBoundedContext: onBoundedContextHook,
        onCommand: onCommandHook,
        // onDocument: onDocumentHook,
        // onEvent: onEventHook,
        // onFeature: onFeatureHook,
        // onFreeText: onFreeTextHook,
        // onExternalSystem: onExternalSystemHook,
        // onIcon: onIconHook,
        // onImage: onImageHook,
        // onHotSpot: onHotSpotHook,
        // onLayer: onLayerHook,
        // onPolicy: onPolicyHook,
        // onRole: onRoleHook,
        // onUi: onUiHook,
    }
}
Modeling On Event Map
Cody is now able to turn information from command stickies (on a prooph board event map) into Typescript interfaces. Switch to the Cody Tutorial board in prooph board and add a command sticky (blue one) with label AddBuilding. Right click on the newly created sticky and choose Trigger Cody from context menu. In the Cody Console you can check the response. Cody should tell you: Wasn't easy, but command AddBuilding should work now!.
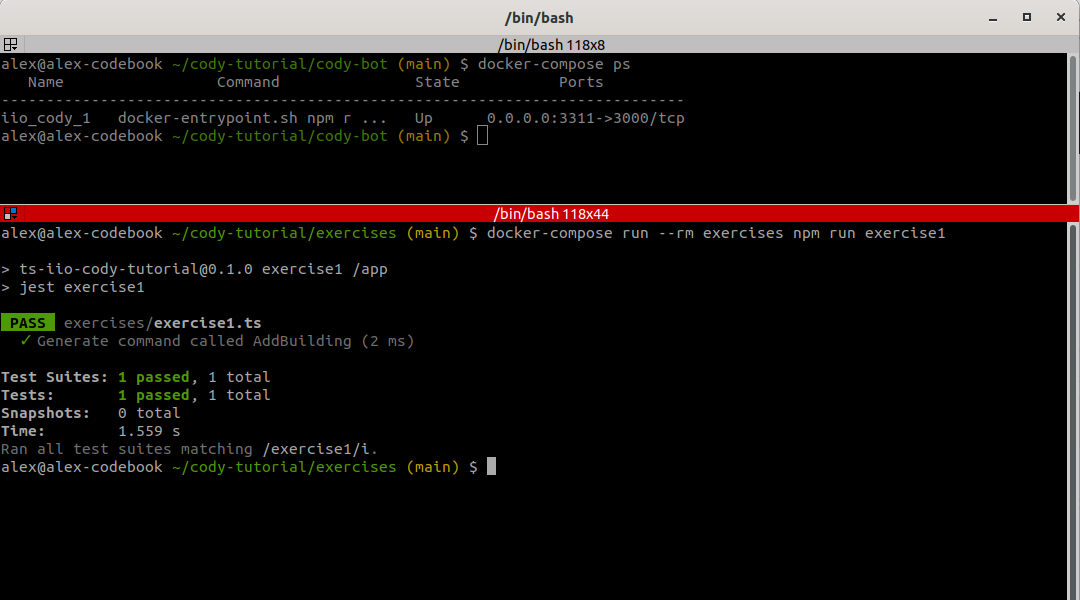
Awesome, it works! Rerun:
npm run exercise1
It should turn green now. The test verifies that a cody-tutorial/exercises/src/Command/AddBuilding.ts has been generated by Cody.
In exercise I we implemented our first Cody Hook and registered it in codyconfig.ts. The hook is called with information received from a prooph board event map
and with a user defined context object, which can be used to pass configuration options (like a source path) to each hook.
We can trigger the hook from prooph board by selecting an appropriate sticky on an event map and Trigger Cody from context menu.
Exercise II
To see what we have to do next, execute:
npm run exercise2
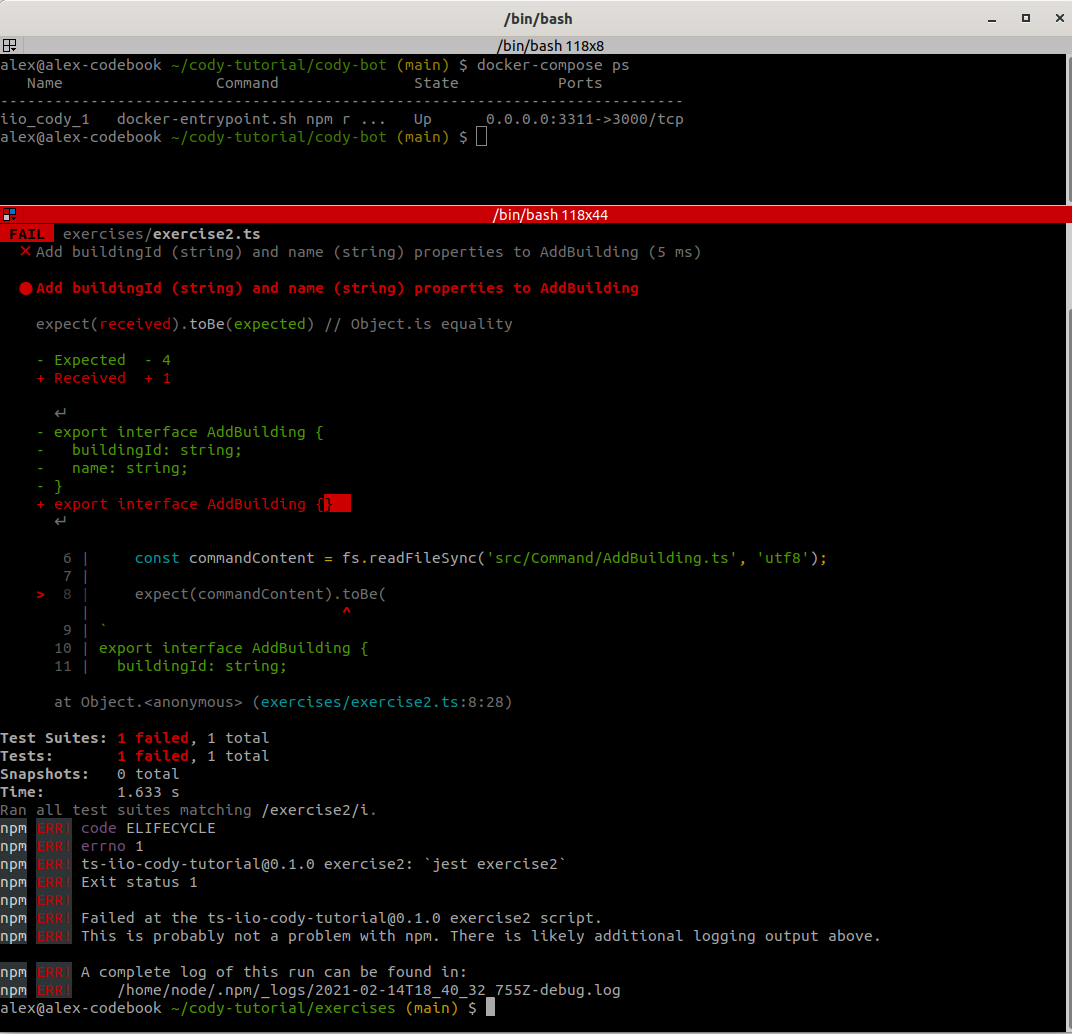
We’re asked to add a buildingId and a name property (both of type string) to the AddBuilding command. Now it would be easy to just open the file and add those two properties. But we should expand our code generation logic instead. This has some significant advantages:
- a prooph board event map acts as documentation
- one can generate contracts like an OpenAPI schema from Card Metadata
- it is easier to discuss and design new features or refactorings when such details are included on the event map
Expand Command Hook Logic
Ok let’s use a simple code generator implementation first to understand the basics. In a later tutorial part we’ll look at some useful libraries that provide abstractions for advanced use cases.
Change the command hook in .codyhooks/onCommandHook.ts like this:
import {Context} from "./Context";
import {CodyHook, CodyResponse, CodyResponseType, Node} from "@proophboard/cody-types";
import {isCodyError, nodeNameToPascalCase, parseJsonMetadata, writeFileSync} from "@proophboard/cody-utils";

/**
 * onCommandHook
 *
 * @param {Node}    command  Information about command card received from prooph board
 * @param {Context} ctx      Context object populated in codyconfig.ts
 * @returns Promise<CodyResponse>
 */
export const onCommandHook: CodyHook<Context> = async (command: Node, ctx: Context): Promise<CodyResponse> => {
    // Cody ships with some util functions for common tasks
    const cmdName = nodeNameToPascalCase(command);
    const cmdFilename = cmdName+'.ts';
    // ctx.srcFolder is set in codyconfig.ts
    const cmdFile = ctx.srcFolder + `/Command/${cmdFilename}`;
    let successDetails = 'Checklist\n\n';

    const commandMetadata = parseJsonMetadata<{[prop: string]: string}>(command);

    if(isCodyError(commandMetadata)) {
        return commandMetadata;
    }

    if(typeof commandMetadata !== 'object') {
        // You can return your own error responses, too
        return {
            cody: `I expected metadata of command "${command.getName()}" to be an object, but it is of type: `
                + typeof commandMetadata,
            type: CodyResponseType.Error
        };
    }

    let properties = "";

    for(const prop in commandMetadata) {
        if(commandMetadata.hasOwnProperty(prop)) {
            const type = commandMetadata[prop];
            // Append property to properties string which is inserted in interface below
            properties = properties + `  ${prop}: ${type};\n`;
        }
    }

    const content = `
export interface ${cmdName} {
${properties}
}
`;

    // Util functions return Cody-Error-Responses in case something went wrong
    const writeFileErr = writeFileSync(cmdFile, content);

    if(isCodyError(writeFileErr)) {
        return writeFileErr;
    }

    successDetails = successDetails + `✔️ Command file ${cmdFile} written\n`;

    // Cody responses can be formatted similar to browser console formatting
    // @see https://developers.google.com/web/tools/chrome-devtools/console/console-write#styling_console_output_with_css
    return {
        cody: `Wasn't easy, but command ${cmdName} should work now!`,
        details: ['%c'+successDetails, 'color: #73dd8e;font-weight: bold'],
    }
}
Set Command Metadata in prooph board
Now we can switch to prooph board and set the following metadata in JSON format to the AddBuilding command:
{
  "buildingId": "string",
  "name": "string"
}
![]() Hint: Metadata can be set by opening the Metadata Sidebar (choose Metadata from top menu) and selecting the appropriate card or sticky note. Metadata changes are saved automatically.
Hint: Metadata can be set by opening the Metadata Sidebar (choose Metadata from top menu) and selecting the appropriate card or sticky note. Metadata changes are saved automatically.
Once metadata is set we can trigger Cody again …

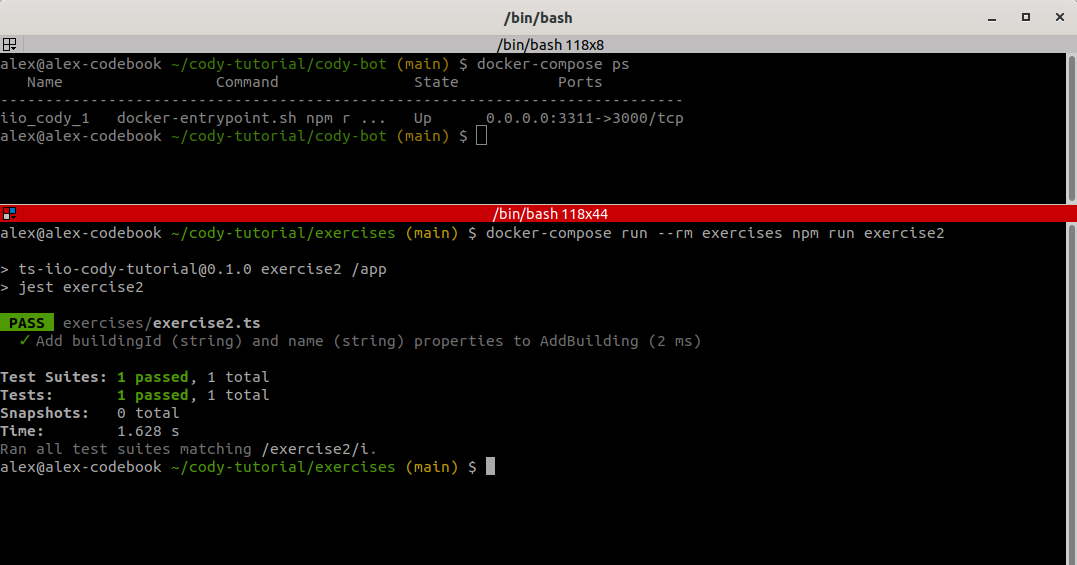
… and validate the result by executing the test run again:
npm run exercise2
Cards on a prooph board event map can have additional information set as metadata. By default metadata is stored in JSON format. Metadata itself is schemaless, meaning users are free to define any structure. The structure can be defined and even be type checked using Metadata Templates. In a Cody hook you have access to raw metadata and use it for advanced code generation.
Exercise III
One last basic concept is missing to complete the picture. On a prooph board event map you model message flows, behavior, business processes. Different objects interact with each other by exchanging messages like commands and events. A Cody Hook can make use of this information to assist developers by generating all required glue code if not a fully working implementation (depends on complexity).
We start again by looking at the failing test case for exercise III:
npm run exercise3
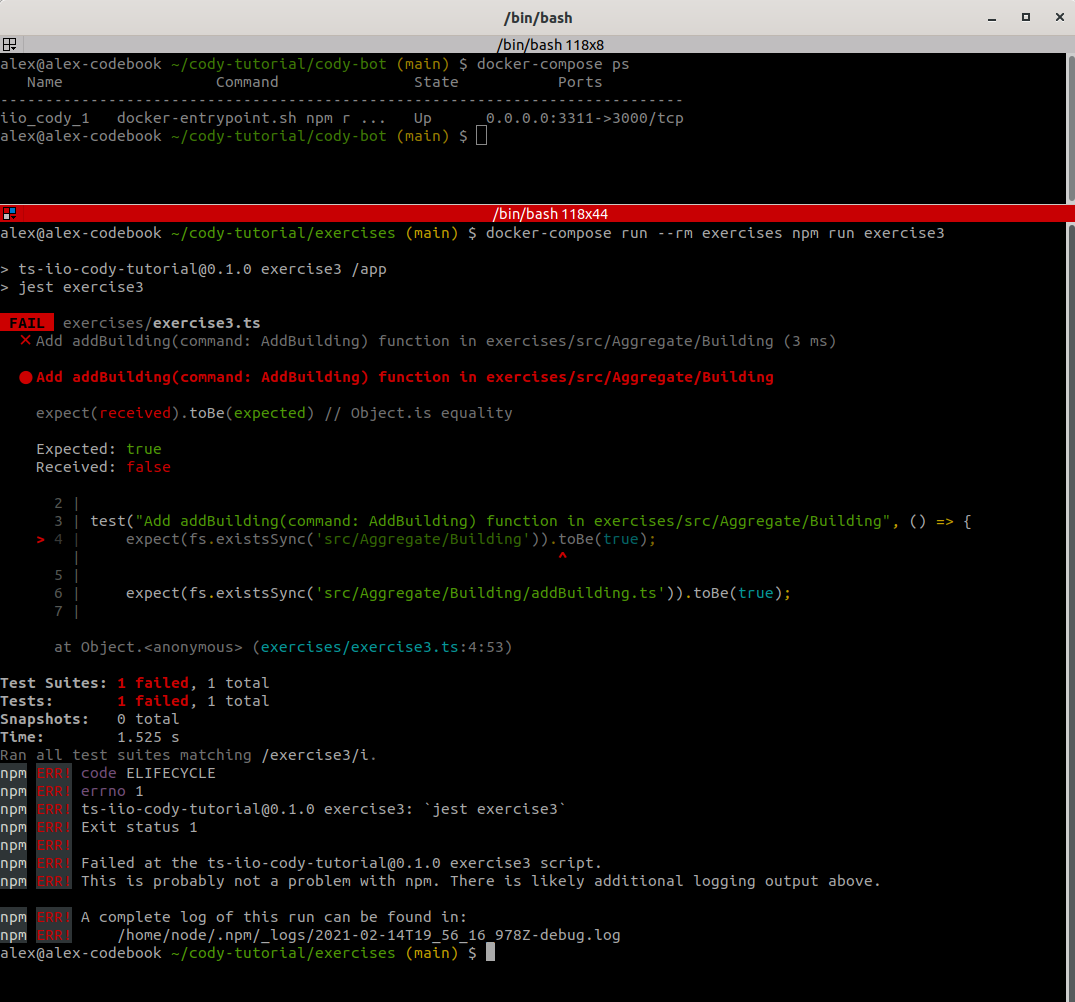
Ok, this time we’re asked to generate a command handling function named addBuilding in an aggregate directory Aggregate/Building. The function should handle AddBuilding command from previous exercises.
Aggregate Hook
In Exercise I you’ve learned how to create a Command Hook and register it in codyconfig.ts. Do the same for an onAggregateHook and let the hook generate a directory src/Aggregate/${aggregateName}.
![]() Hint: You can use the util function
Hint: You can use the util function mkdirIfNotExistsSync to generate the directory. Make sure to check if the util function returns a Cody-Error-Response!
If you think the hook is ready, switch to prooph board, add an aggregate card with label Building on the event map and trigger Cody.
Did it work? You can verify the result by executing:
npm run exercise3
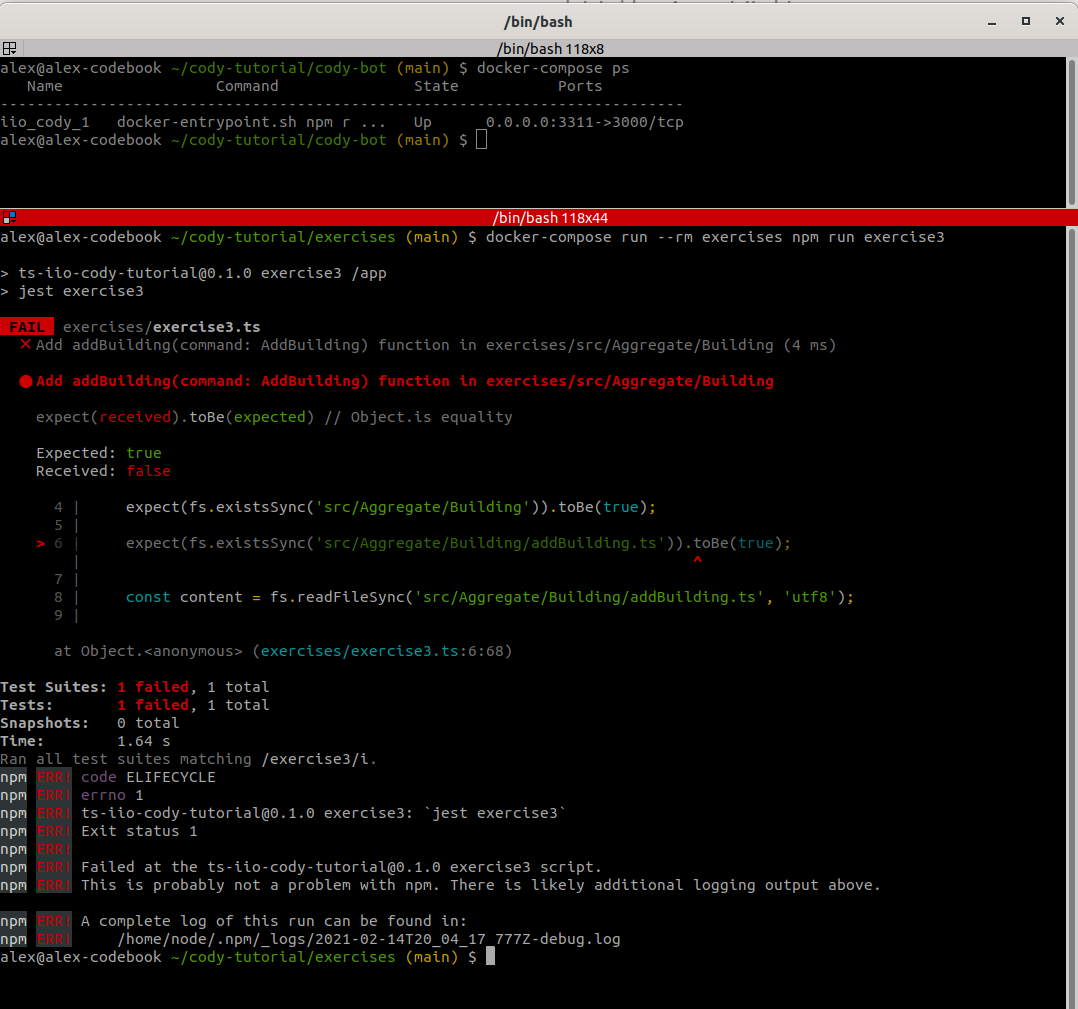
Test case is still failing but the error has changed. src/Aggregate/Building/addBuilding.ts file is missing.
Event Map Connections
Go back to the event map and draw an arrow from AddBuilding command to Building aggregate.

The connection we’ve just drawn can be read in a hook. Here is the Node interface passed to a hook:
interface Node {
  getId: () => NodeId;
  getName: () => NodeName;
  getDescription: () => NodeDescription;
  getType: () => NodeType;
  getLink: () => NodeLink;
  getTags: () => List<NodeTag>;
  isLayer: () => boolean;
  isDefaultLayer: () => boolean;
  getParent: () => Node | null;
  getChildren: () => List<Node>;
  getGeometry: () => GraphPoint;
  getSources: () => List<Node>;
  getTargets: () => List<Node>;
  getMetadata: () => string | null;
}
We already worked with getName() and getMetadata(). From a Node you can follow connections using getSources() and getTargets(). In our case the AddBuilding command node has the Building aggregate referenced as a target and from Building point of view AddBuilding command is a source.
One important thing to note here is that a hook gets only access to directly connected nodes, even if those nodes have further connections! This avoids circular reference problems and keeps payload exchanged between prooph board and Cody small. However, it’s possible to request a full board sync and build up a node map in Cody. But this is an advanced topic, that should be covered later.
![]()
Node interface also provides information about getParent() and getChildren() which are useful when grouping cards in a frame
Enough theory! Let’s see it in action. Update your onAggregateHook with this version:
import {CodyHook, CodyResponse, Node, NodeType} from "@proophboard/cody-types";
import {Context} from "./Context";
import {
    getSingleSource,
    isCodyError,
    mkdirIfNotExistsSync,
    nodeNameToCamelCase,
    nodeNameToPascalCase, writeFileSync
} from "@proophboard/cody-utils";

export const onAggregateHook: CodyHook<Context> = async (aggregate: Node, ctx: Context): Promise<CodyResponse> => {
    const aggregateName = nodeNameToPascalCase(aggregate);
    const aggregateDir = ctx.srcFolder + `/Aggregate/${aggregateName}`;
    let successDetails = 'Checklist\n\n';

    const dirErrResponse = mkdirIfNotExistsSync(aggregateDir);

    if(isCodyError(dirErrResponse)) {
        return dirErrResponse;
    }

    successDetails = successDetails + `✔️ Aggregate directory ${aggregateDir} exists\n`;

    const command = getSingleSource(aggregate, NodeType.command);

    if(isCodyError(command)) {
        return command;
    }

    const commandName = nodeNameToPascalCase(command);
    const commandFunction = nodeNameToCamelCase(command);
    const functionFile = `${commandFunction}.ts`;
    const content = `import {${commandName}} from "../../Command/${commandName}";

export function ${commandFunction}(command: ${commandName}): void {}
`;

    const writeFileErr = writeFileSync(aggregateDir + `/${functionFile}`, content);

    if(isCodyError(writeFileErr)) {
        return writeFileErr;
    }

    successDetails = successDetails + `✔️ Command handler ${aggregateDir}/${functionFile} created\n`;

    return {
        cody: `${aggregateName} Aggregate can now handle ${commandName} commands`,
        details: ['%c'+successDetails, 'color: #73dd8e;font-weight: bold'],
    }
}
The implementation should be self explanatory. The util function getSingleSource is used to ensure that an aggregate card should only have one command as a source. If more than one is found a Cody error is returned. This way you can harden your hooks and validate event maps according to your own rules.
Trigger Cody with the Building aggregate card in prooph board and run exercise III once again:
npm run exercise3
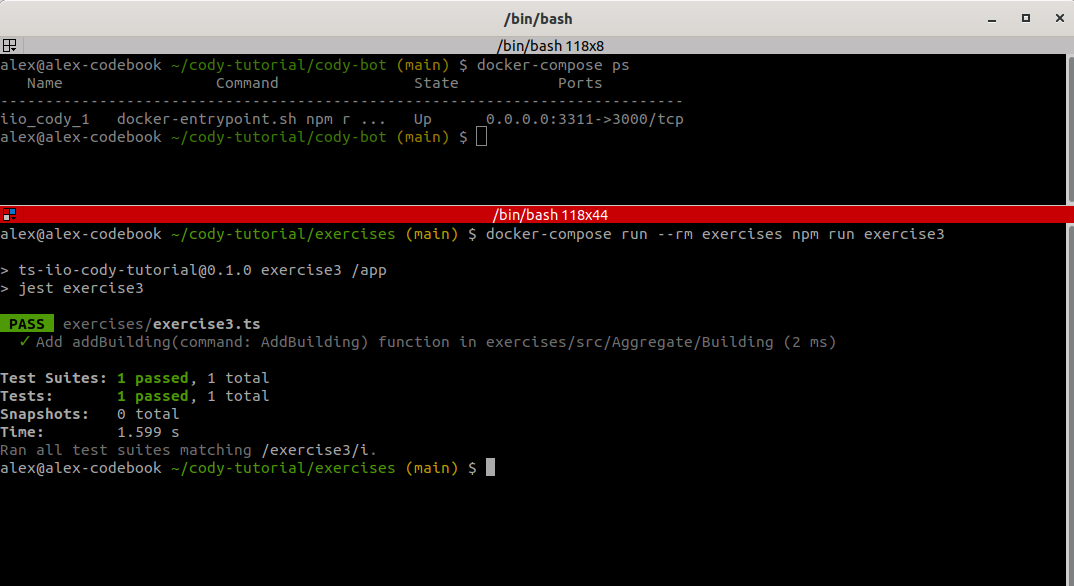
This exercise introduced the last basic building block: Connections between cards. Depending on arrow direction on prooph board a connected card appears either in the sources or targets collection of the Node passed to a hook. It’s important to keep in mind that a hook only has access to directly connected cards.
Exercise IV
Exercise IV coming soon!
Meanwhile you can checkout how to implement a cody server in your preferred language or check the following example boards to learn more about working on prooph board: