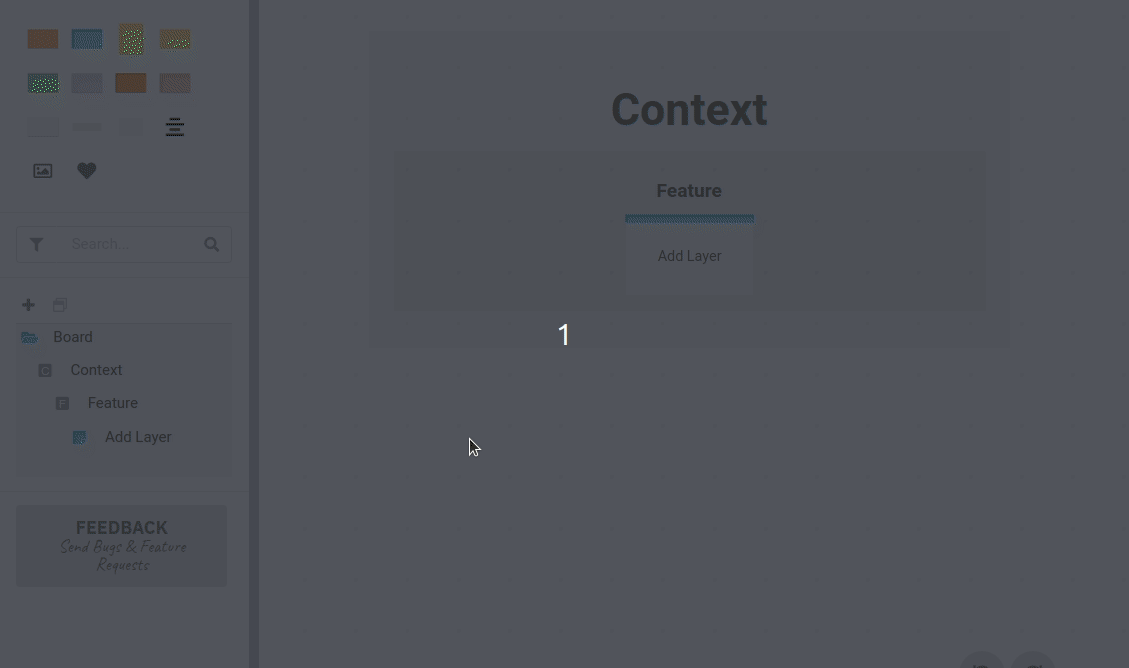
Tree View
The left sidebar contains a tree view. It’s purpose is similar to a table of contents. All elements on the board are also listed in the tree view.
You can use the tree view to navigate to certain elements by clicking on them. If elements are nested within a parent (e.g. cards grouped by frame), a single click on the parent will show/hide children and a double click will navigate to the parent on the board.
Tree Structure
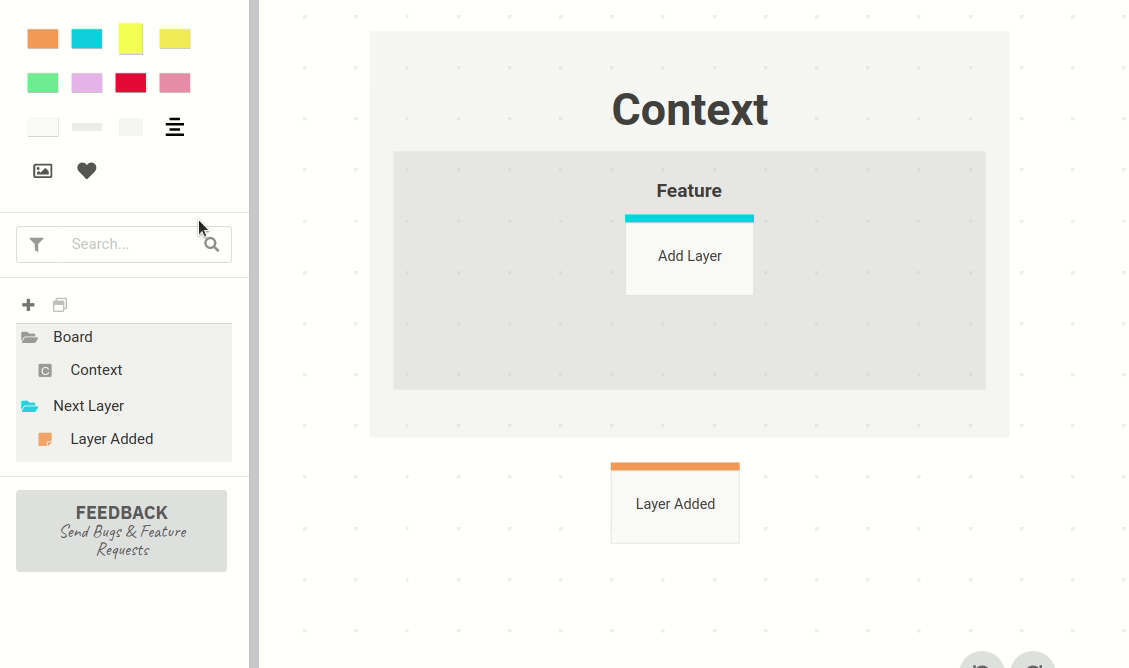
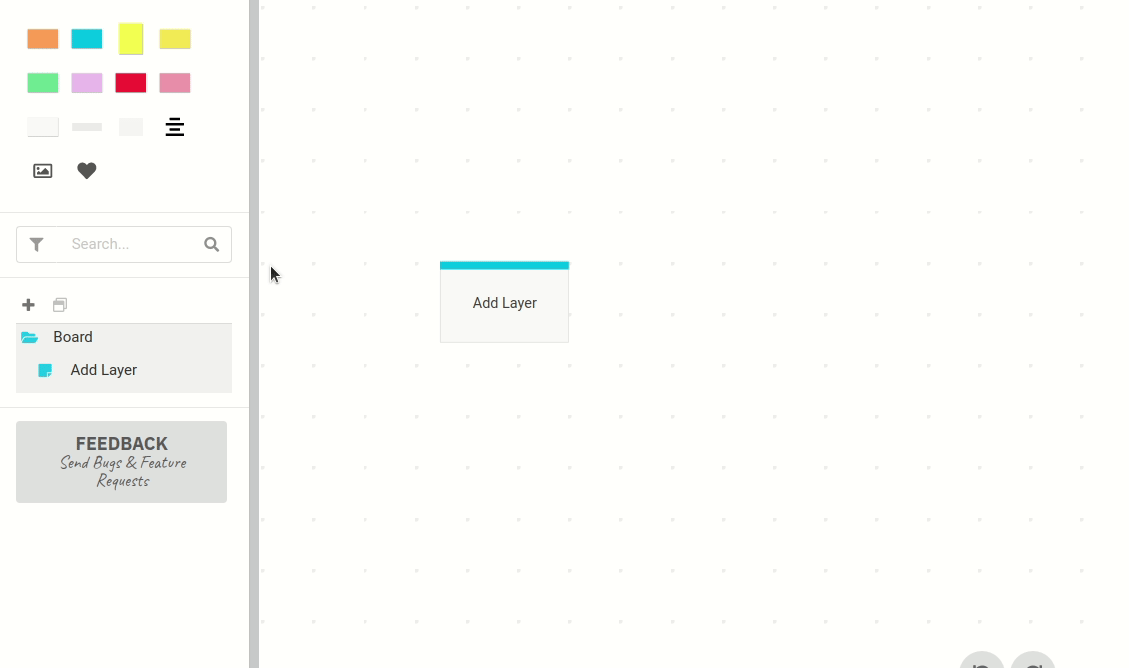
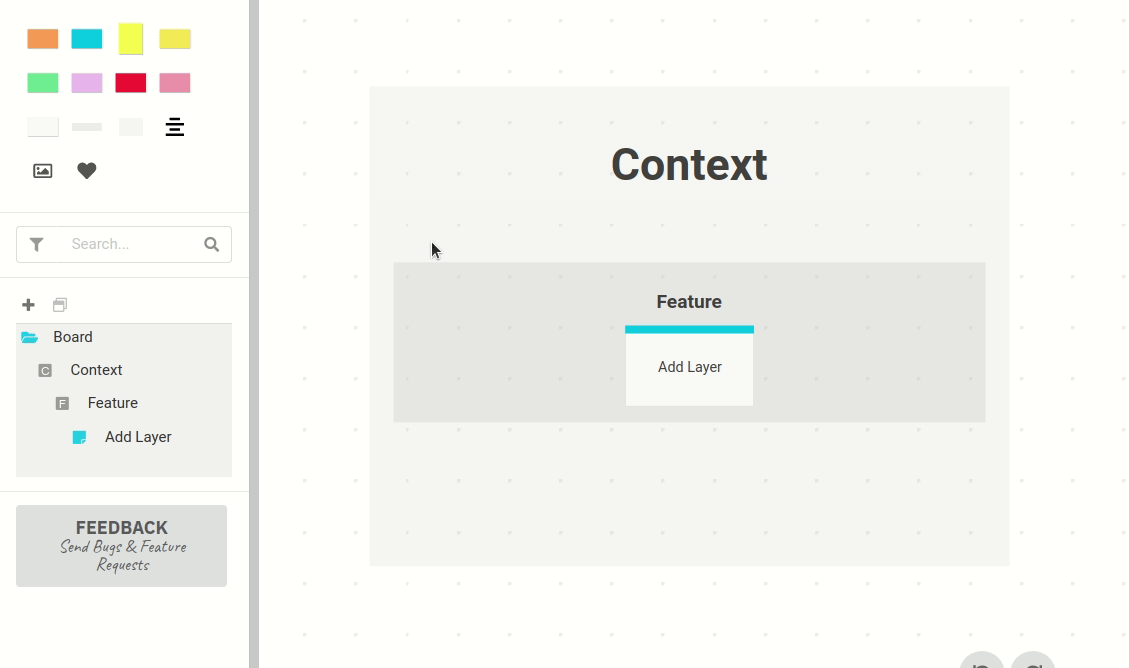
Layers define the top level of the workspace (sub layers are not supported yet). Beneath them the structure is automatically derived from your activities on the board. You have two frame types available that group elements in the tree.
Nesting Frames
Nest Frames on the board and put Cards and other elements into them. The structure is then visible in the tree view and gives you an higher level overview when zooming out.
Show/Hide and (Un)lock Elements
A right click on an element in the tree opens a context menu with some options. You can lock or unlock elements, which means that no one can edit it or its nested elements.
Find an element on the board
Use the filter and search bar located above the tree view to find elements. The tree view is filtered immediately and shows all matching elements.
By clicking on the filter icon you can select the type of element you are looking for.
Advanced Search
| Search Term | Description |
|---|---|
| some text | Matches text in element names |
| #tag | Matches all elements with “tag” assigned |
| !#tag | Matches all elements without “tag” |
| type:element | Matches all elements with given type. Same as using the type filter |
| term1; term2 | Combine search terms, for example: #tag; !#other; type:event |
If you have a card selected on the board and press Ctrl+F (Cmd+F on Mac) the type of the card will be set as filter and its name as search term. This shortcut is useful to quickly find similar cards on the board.
Drag Elements From The Tree
You can drag an element from the tree view and drop it on the board, which is a shortcut for copy & pasting the element.
Working with Layers
You may know layers from drawing and image editing tools like Photoshop. In prooph board they work quite the same, but have a slightly different purpose. An Event Model on prooph board is organized in Frames on the default layer (see below). With additional layers, you can attach secondary information to the Event Model like technical documentation, project planning, etc.
Default Layer
Each board has a default layer which is called Board by default. You’ll find it in the left sidebar on the board workspace. You can rename the layer, but it is not possible to delete it (other layers are deletable, though).
Adding a Layer
Adding a layer is quickly done. Click on the plus icon above the layer tree. A new layer gets added to the tree and you can set a name for it. Pressing ESC will abort the operation and pressing Enter completes it.
The layer tree is sorted alphabetically, so your new layer is moved to its final position in the tree after pressing Enter. It becomes the active layer (see below, for more information) and is therefore marked with a blue folder icon (instead of black).
Switch active Layer and move Elements to it
The active layer can be changed with the dropdown above the elements tree.
There is always only one layer active. Elements of other layers are hidden, while the elements of the active layer are shown.
Frames are shown on all layers. They provide the basic structure of the board. Layers work with the basic structure.
Existing elements can be moved from another layer to the active one by selecting the elements on the board and then clicking on the copy icon next to the plus above the layer tree. The folder icon becomes orange for a second to signal success of the operation. You’ll now find the moved elements beneath the active layer.

Rename or delete a Layer
The edit button in the layer context menu actives an inline edit for the layer name. Rename it and press Enter or abort the operation with ESC.
Layers (and other elements) can also be deleted if you no longer need them, except the default one (see above). A quick confirmation saves you from fast unwanted clicks without getting to much in your way.